How to Easily Patch Your Inflatables
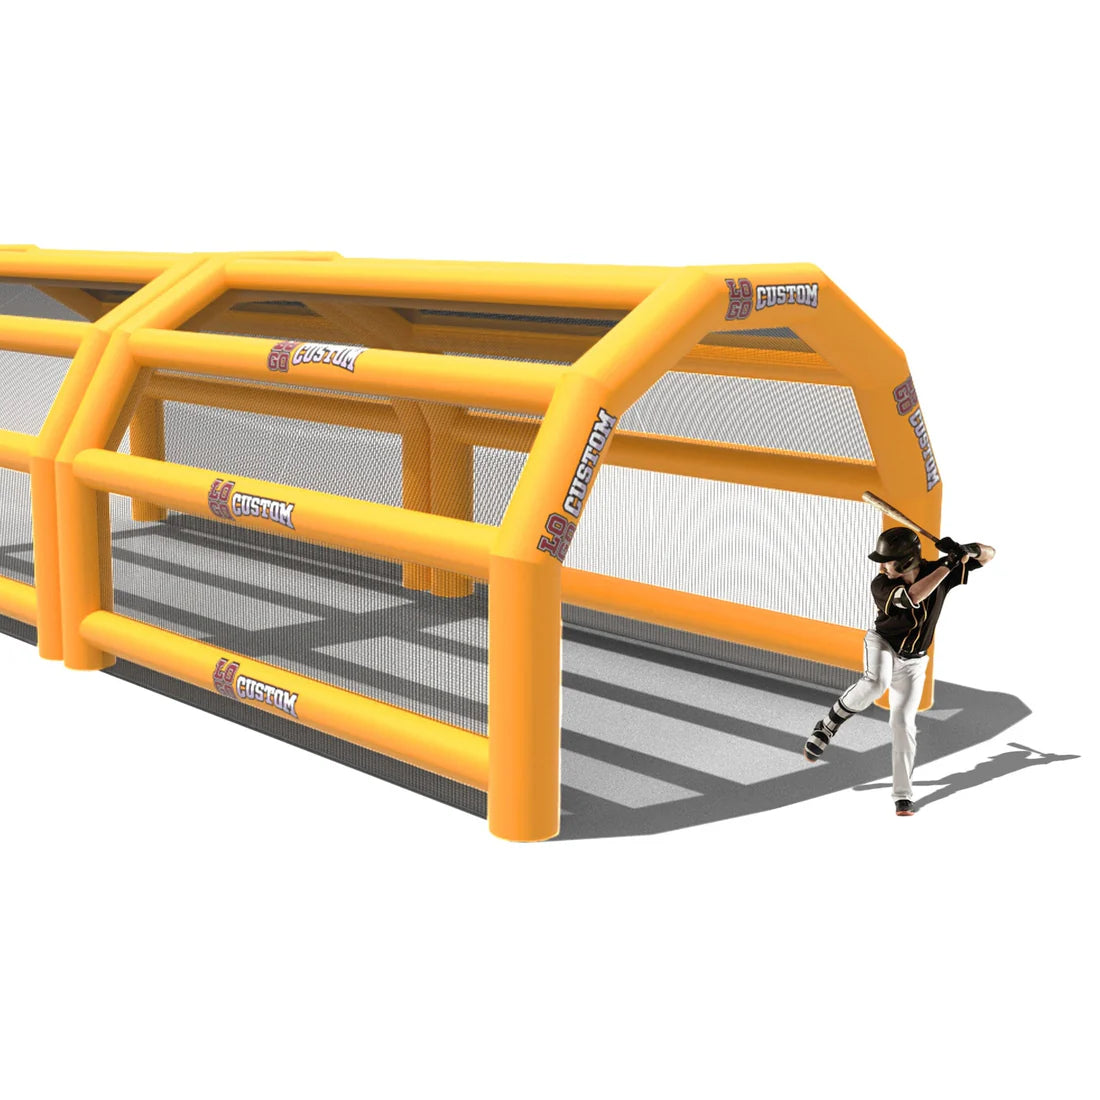
Inflatables bring joy, especially during summer. A pool float, an air mattress, a bounce house, reusable balloons— these small luxuries make life more fun. But when one gets a leak, the fun deflates fast!
Here's the good news: fixing an inflatable isn't as hard as it sounds. You can bring almost any inflatable back to life with a few simple tools, like a patch kit or some soapy water. This guide shows you how to spot leaks, prepare your repair, and make a lasting patch.
You'll get practical, clear steps and learn what tools you need. You'll have everything you need in a few minutes to make your inflatable as good as new.
Tips Identifying the Leak
Sometimes, a leak hides in plain sight. Finding it takes a little patience and a few simple tricks.
Lay the inflatable on a flat surface. Look closely for any signs of damage, like small holes or rips along seams. Even tiny pinholes can cause slow leaks. Scan the entire surface, especially high-wear spots like edges or corners.
Soapy water can reveal leaks that your eyes might miss. Mix a small amount of dish soap with water, then apply it over the surface using a sponge or spray bottle. Watch for bubbles forming. These bubbles are air escaping from the leak. Take your time, and check both sides if possible.
Another way to locate a leak is by pressing on the inflatable gently. This can force out air from even tiny holes, making them easier to spot. Listen carefully for a faint hiss, especially in a quiet room. If you hear air escaping, follow the sound to pinpoint the spot.
For small inflatables, submerging in water can work wonders. Inflate the item slightly, then dip sections into a bucket or tub. Watch for air bubbles rising to the surface—these mark the leak. If your inflatable is too big, focus on one section at a time with soapy water instead.
Patching your Inflatable Equipment
Step 1: Clean the Surface Thoroughly
Use a cloth, soap, and water to clean the area around the leak. Remove any dirt, oils, or dust. These can weaken the bond and stop the patch from sticking well. Let it dry fully before moving to the next step.
Step 2: Dry and Sand the Area
Once the spot is clean and dry, gently rub it with sandpaper. This roughs up the surface, which helps the patch bond better. Be careful not to sand too hard—just enough to create some texture.
Step 3: Cut Out the Patch to Fit
Take your patch material, whether from a repair patch kit or a vinyl patch and cut it slightly larger than the leak. Round the edges; sharp corners can peel up over time. This step can make a big difference in how long the patch lasts.
Step 4: Prepare the Patch and Inflatable
If using a vinyl repair kit, apply the provided vinyl cement to the patch and the leak area. Let them sit for a few minutes so the adhesive can start to bond.
Step 5: Apply the Patch Firmly
Press the patch down over the leak, ensuring it covers the entire area. Start from the center and smooth outwards to remove any air bubbles. Even pressure will help create a strong seal.
Step 6: Hold It in Place with Masking Tape
Use masking or duct tape around the edges to keep the patch steady while it bonds. This stops any movement that could break the bond as it dries. Let it sit like this for a few hours or as the inflatable repair kit instructions recommended.
Step 7: Let the Patch Cure
The adhesive needs time to set. Avoid handling or inflating the item until the patch has had time to cure fully. Vinyl cement, for example, can take 24 hours to reach full strength. Patience pays off here.
Step 8: Test for Any Leaks
Once the patch is set, slowly inflate the item and check for any signs of air escaping. If the patch holds, you're ready to go. If not, repeat the process or add another patch material layer.
FAQs About Inflatable Repair
How can I repair a small pinhole in my inflatable?
For small pinholes, start by locating the air leak. Use soapy water if needed, then dry and clean the damaged area. A PVC repair kit or DIY patch with heavy-duty vinyl cement can seal the hole effectively. Make sure to let it cure before inflating again.
Can I fix a damaged seam on my inflatable?
Look for the tear, clean it, and use a seam repair kit with a strong adhesive for PVC inflatables. Apply pressure to the seam after placing the patch and allow it to set before the next use.
What's the best way to patch an inflatable raft or dinghy for heavy-duty use?
Choose a patch kit rated for high wear for rafts and dinghies that see heavy-duty use. PVC patches work well on these surfaces. Clean and sand the damaged area, apply a patch with a strong adhesive, and let it fully cure, This process strengthens the patch against rugged conditions.
How can I prevent air leaks in my inflatable during summer fun?
Proper storage and handling go a long way. Keep inflatables out of direct sun when not used, and don't overinflate. Check them regularly for tiny pinholes or worn seams and repair them immediately to avoid larger issues.
Can I patch PVC kayaks or pool floats on my own?
Absolutely. DIY repairs for PVC inflatables are simple with the right materials. Clean the damaged area, apply a patch with a vinyl repair kit, and allow it time to cure. DIY patches work well on PVC kayaks, pool floats, and similar items, extending their life without needing replacements.
Can't Salvage your Inflatable? Contact Our Team for a Replacement
Some inflatables give all they've got. After years of summer fun and countless repairs, there comes a time to let go. If your inflatable is beyond saving, look at something fresh, strong, and built to last.
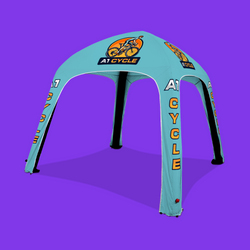
Explore durable options that bring life to any event or gathering. You can choose from inflatable sports equipment to vibrant advertising displays. A reliable replacement is ready to make a statement. Head over to Look Our Way's collection of inflatables and find one designed to do the job.
Your next inflatable is waiting. It's crafted to last, easy to set up, and ready to make an impact!


