How to set up your Canopy Tent
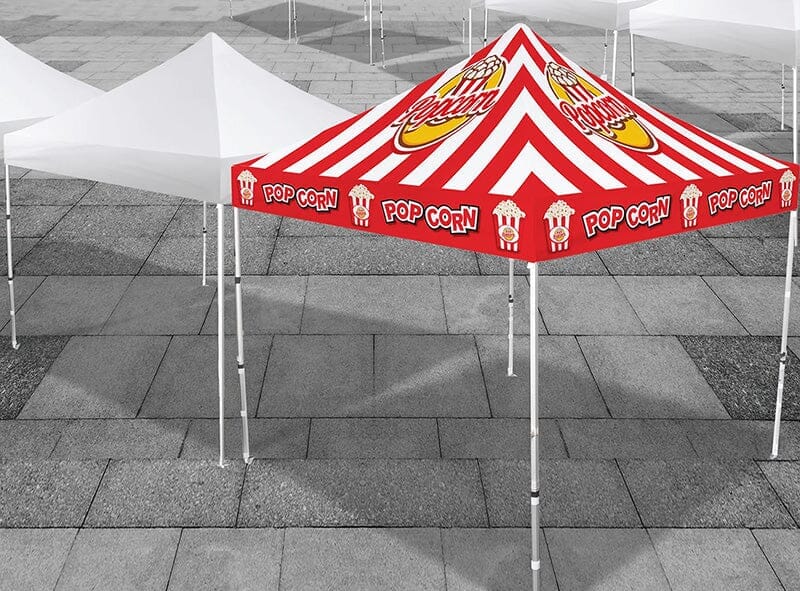
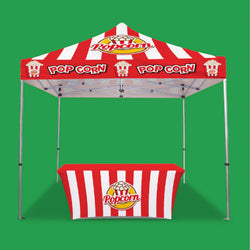
The day has finally come! Its time to set up your brand new Custom Canopy Tent. Please follow the instructions below to get started setting up your tent. A PDF copy of these instructions can also be downloaded HERE.
Important:
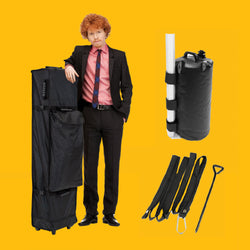
Windy Condition: We recommend using our Spike and Rope Set or our Heavy Duty Sandbags. Both can be purchased individually or as a set with our Canopy Tent Accessory Package
Heavy Wind: We do not recommend using your tent in severe wind conditions.
Wet Fabric: Let tent dry before closing and storing.
Cleaning: Use mild detergent and water.
Rain: Do not leave tent unattended.
Setup:
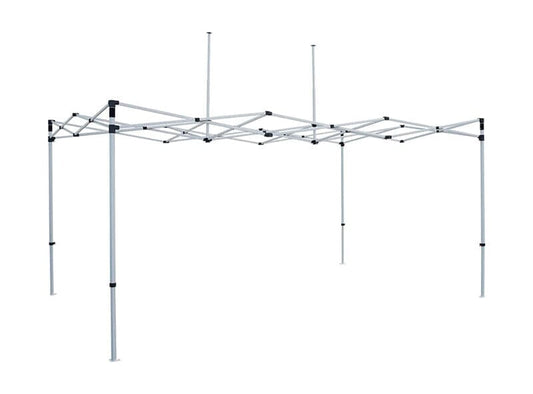
Step 1: Remove canopy tent frame from bag, standing it up in the area you would like to set up the tent.
Step 2: Have 2 people stand on opposite sides. Grasp two outer legs, lift off the ground and step backwards, stopping at arm length.
Step 3: Grasp the bottom of the diamond portion of the upper frame on opposite sides. Lift up and step backwards until tent is fully opened. Be careful not to pinch your fingers.


Step 4: If the Canopy top has not already been installed, do so now. Lay the top over the frame and secure each corner. Attach the velcro bands at each corner
Step 5: Engage the auto slider at each corner by pushing up with one hand while holding down the top of leg with the other hand. Snap button will engage when in groove. Repeat on all other legs.
Step 6: Lift two adjacent outer legs up and pull out the inner leg until the snap locks in place. Repeat on all lets. Raise or level the tent using adjustment holes found near the bottom of each leg.


If you are have any further questions about setting up your Custom Canopy Tent please give us a call (866) 586-3888 Monday to Friday: 7:30 am - 5:00 pm PST or reach out to us via email SUPPORT@LOOKOURWAY.COM.


